Installing your backlit window displays is very easy to do if you follow the steps below. You can do it by yourself—no need to be an expert! As well, you can contract a technician or an electrician near your location to install the displays for you in no time.
The LED displays use a 24V safe low voltage. There is no risk of a fatal electric shock; however, you shouldn’t be standing on a wet spot while manipulating the displays. The power adapter converts the 110V/220V to a 24V output in order to power the rail.
- Always follow all steps and instructions below to avoid a product warranty void.
- Installation of displays must be done with the power off.
- Make sure all connections are set correctly.
- Make sure all temporary protective plastic films have been removed before turning on the suspended display system.
- Do not combine electronic displays together other than the ones you’ve purchased as a set. This could lead to overheating, a surge, short circuiting and damage to the system.
Caution: if you want to hang more displays on your current system, please contact us with some pictures to make sure your system can power more displays and that it won’t lead to damages. Usually, the best idea is to install a new self-standing display set with its own power adapter outside of your current system.
Step 1/5 – Install the hanging rail system (wall mounted or ceiling mounted)
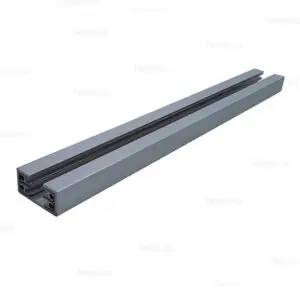
Hang the rail behind the window or anywhere else, from the ceiling or from the wall, by using screws and dowels. The LED displays can be located between 1 and 4 inches (2 to 10 cm) behind the window. Make sure that the wall or ceiling is able to handle the weight.
3 ft. / 1m Rail
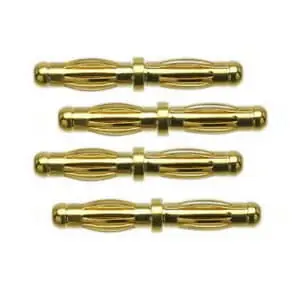
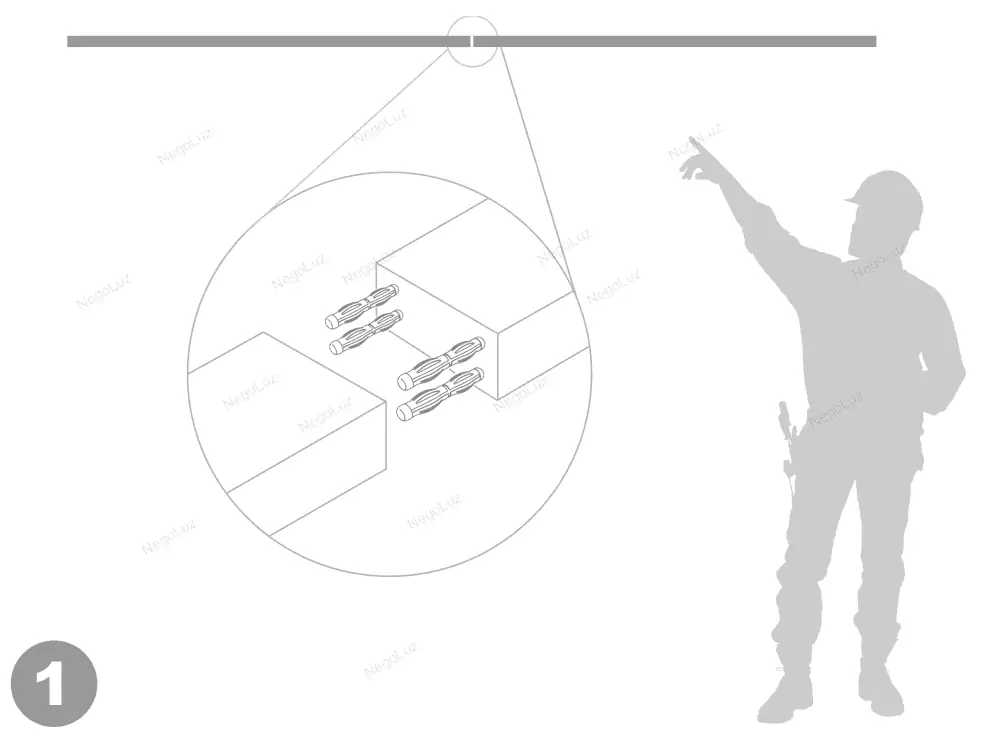
If you have two or more rails going together, they can fit into each other by using the rail connectors. These rail connectors allow the power to go all along each rail.
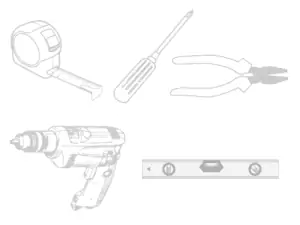
Tools you will need
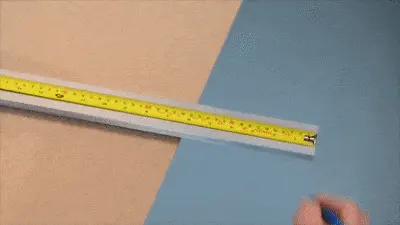
If the aluminium rail is too long for your need, you can cut it easily to adjust rail length. Use a saw to cut it to your desired length.
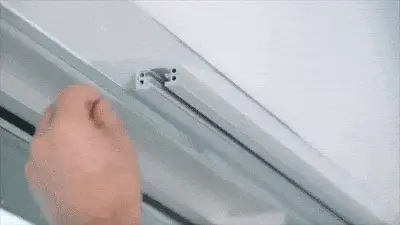
Insert the rail connectors into the first rail (both positive and negative ends) to bring power to second rail. Then insert the second rail into the first one.
Step 2/5 – Install the pair of sliding connectors and hanging cables into the rail
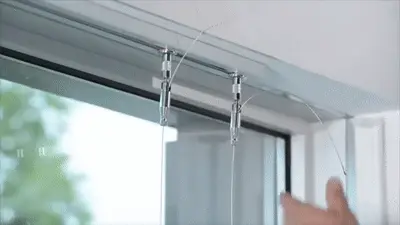
Insert sliding connectors into the rail. Make sure that each connector (positive and negative) matches perfectly with the positive and negative part of the rail. The extra cable length above the sliding connectors should only be cut off at the end once the backlit displays are hanging and when you are sure about the display’s height. Steel cables must never touch each other to avoid short circuiting. Sliding connectors can bend from 90° if you hang the rail from a vertical wall.
Sliding connectors
- Red = Positive connector
- Blue = Negative connector
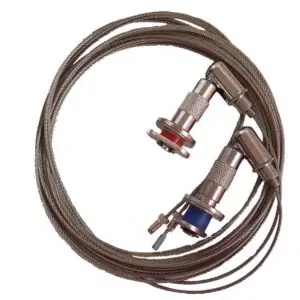
See rail picture below. The blue negative sliding connector goes into the negative part of the rail. The red positive sliding connector goes into the positive part of rail.
- 1 – Rail
- 2 – Sliding connector
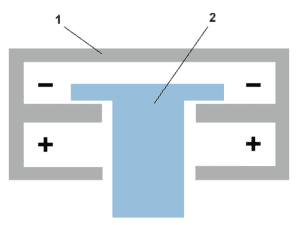
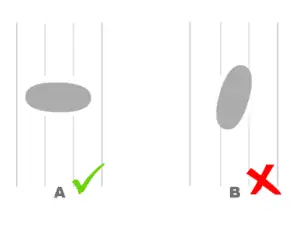
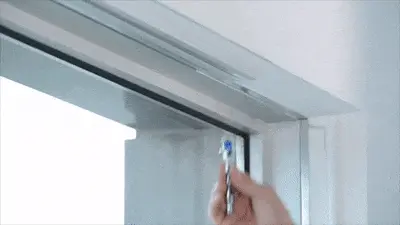
Insert each sliding connector part properly into the rail. Rotate and tighten the sliding connectors within the rail to tighten them. The oval steel part of the sliding connector gets into the rail to make electrical contact. This oval steel part must be perpendicular to the rail to avoid all your displays falling down to the ground.
Step 3/5 – Hang a first display to the cables, connect the power adapter to the rail, and turn it on to make sure the displays light up
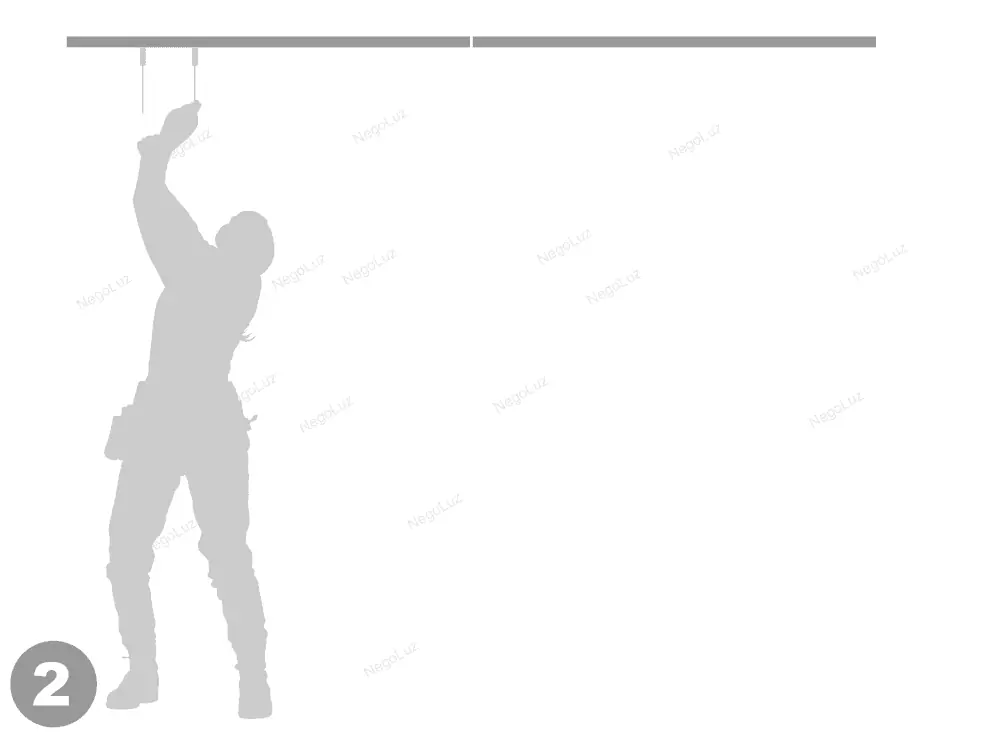
A.- Hang a backlit display on the cables. The front side is the gray side, which faces outward. Use a level to make sure the display is horizontal. The opening display slot should be upward. We recommend installing a single display first to make sure your installation works correctly. It is much easier for troubleshooting. Then add the other displays and do a check after each column by turning on the power. Always turn the system off when working on any display or on the hanging system to avoid permanent damage. It is required by our warranty that installation must be done with the power off.
B.- Connect the wire between the rail and the power supply. Do not turn on or connect the power supply until the first LED display has been hung from cables and sliding connectors. Make sure the steel cables are not touching each other to avoid a short circuit. Then connect the power supply to the outlet using the power cord. If the power supply is on, the green light will be on, and the displays should light up.
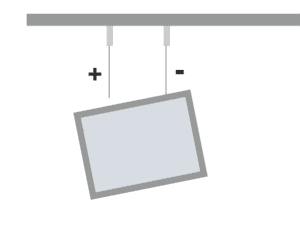
Landscape Mode
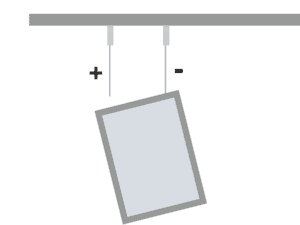
Portrait Mode
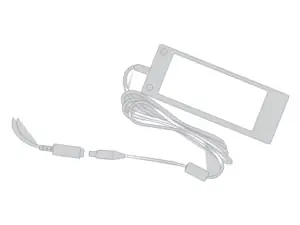
Power Converter
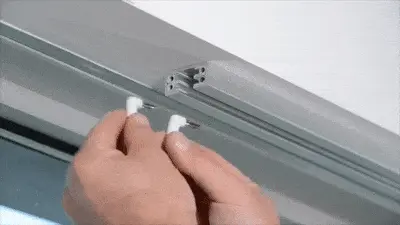
Rail Power Connectors
If the green light on the power supply is on but displays are off:
- It is likely that the positive and negative ends of the sliding connectors on the rail or connecting cable have to be swapped.
- The display has to be swapped to match the positive and negative cables coming down from the rail.
- Make sure the positive and negative sliding connectors are well placed into the rail.
- Double check the positive and negative banana connectors. They must be well connected into the positive and negative rail plugs.
If the green light on the power adapter turns off when you connect it to the rail, it means that there’s a short circuit somewhere in your installation. Make sure the steel hanging cables are not in contact with each other.
All displays can be hung in portrait or landscape mode.
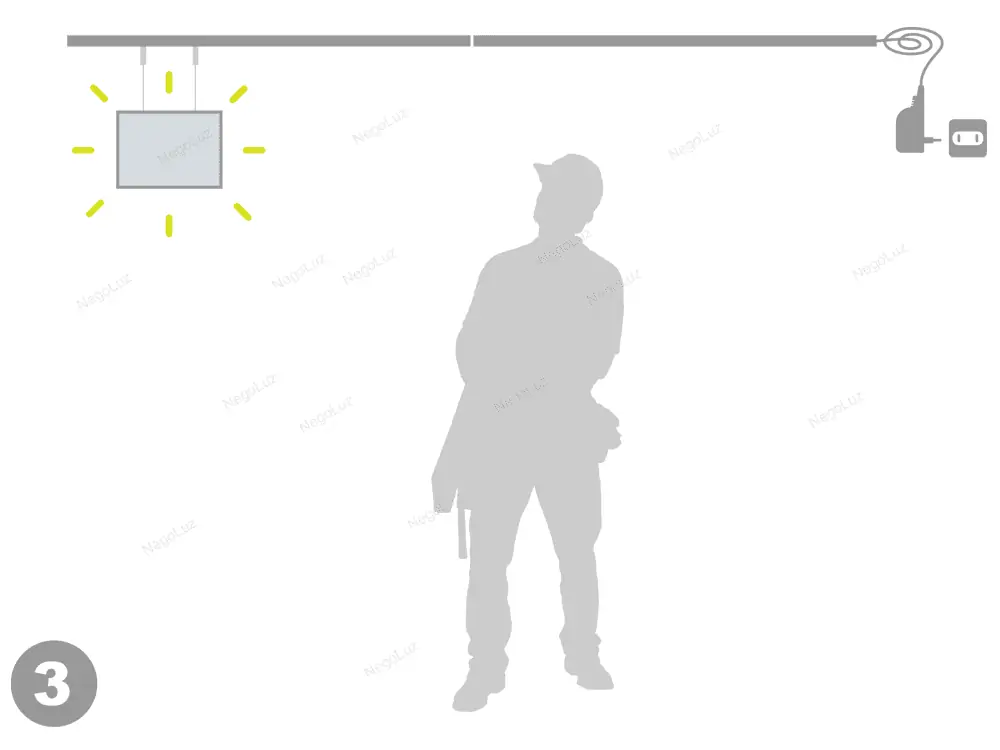
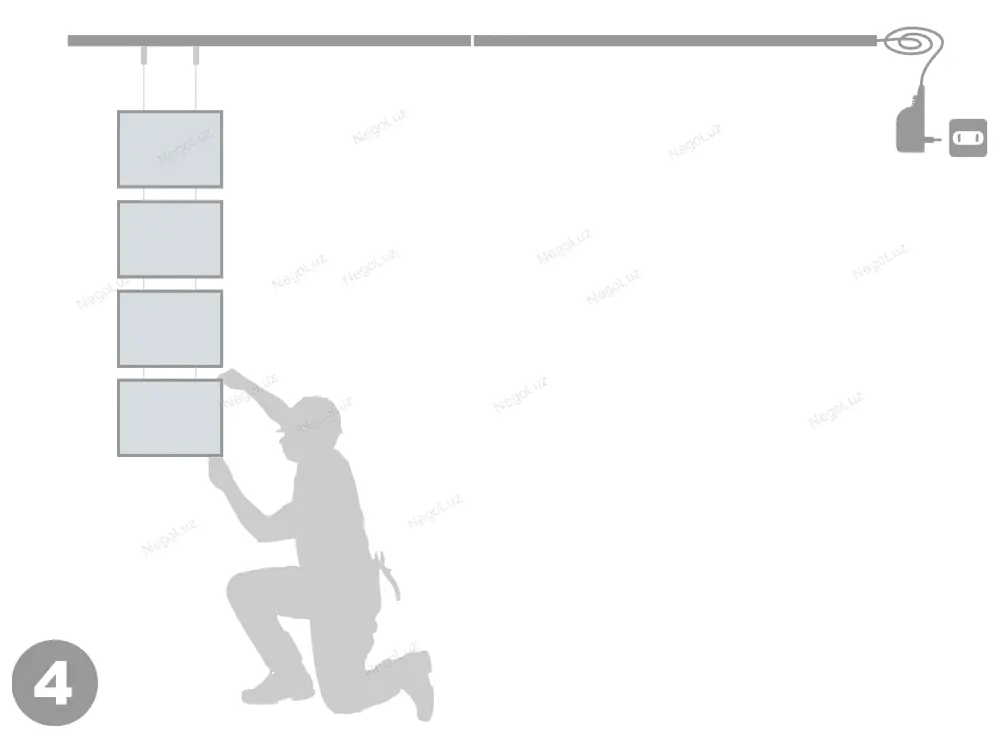
Step 4/5 – Add the other displays to the column and settle the column height by adjusting the cables’ length
Once the first display is on, turn off the power. Adjust the height of the display by sliding the steel cables into the connectors, then add the other displays by using the 2 inch (5 cm) small steel cables. Leave about 1 inch (2 cm) of the steel cable by the rail on top of the sliding connectors for future adjustments if necessary. Then cut the extra unused cable length with a wire rope cutter or strong grip to make a clean cut.
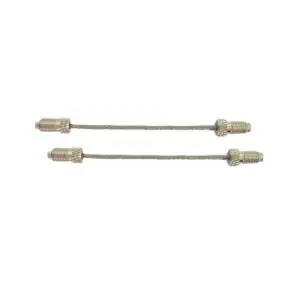
2 inch (5 cm) small steel cable. Use a pair of these cables to hang two displays together.
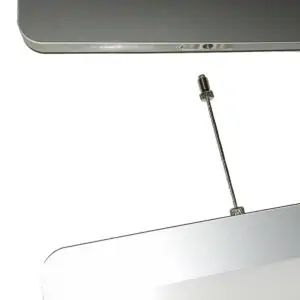
Screw the 2 inch (5 cm) small steel cable into the next display.
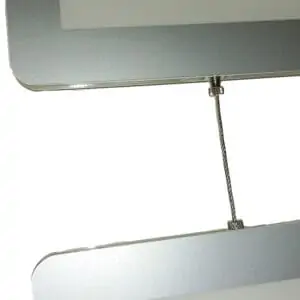
Next, screw the cable into the display already set in the column.
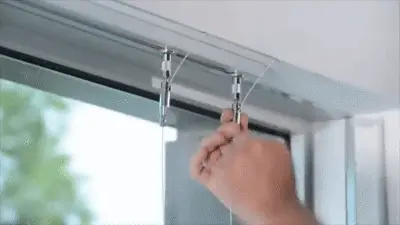
Step 5/5 – Turn off the power, install the next columns and turn it back on
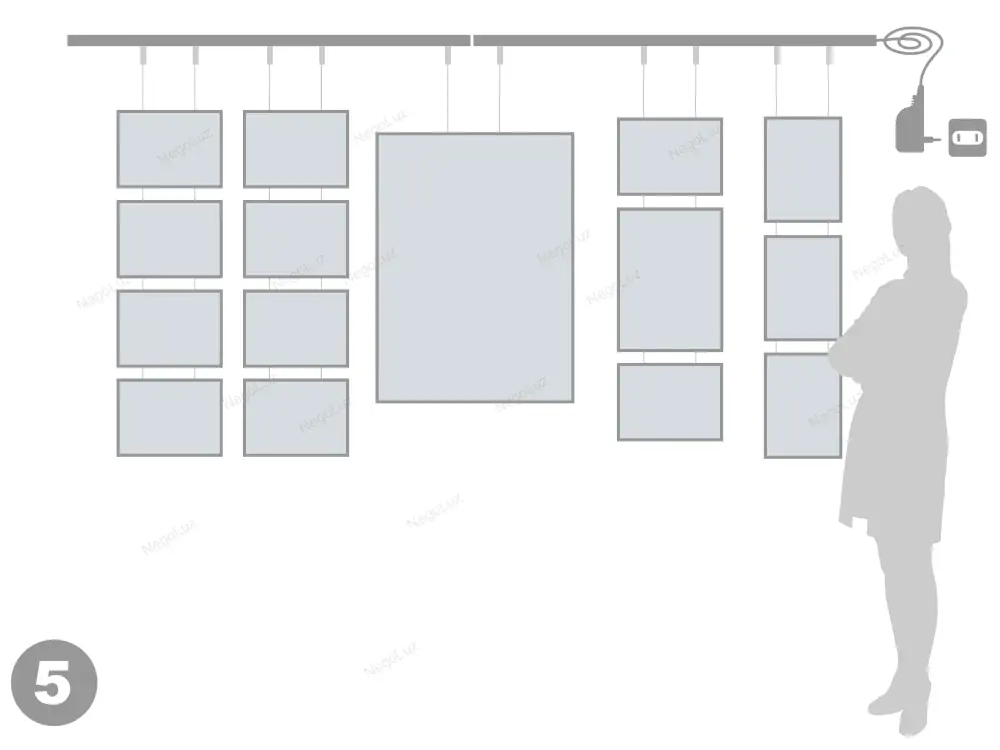
Repeat the previous 2 to 4 steps in order to set your next columns. Adjust space between each column by sliding the pair of connectors into the rail.
We recommend leaving at least 1 inch (2 cm) between each column of displays. You can leave more space between each column according to your needs.
Ensure that the displays light up after each column is installed by turning the power on and then off again.
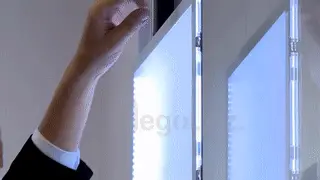
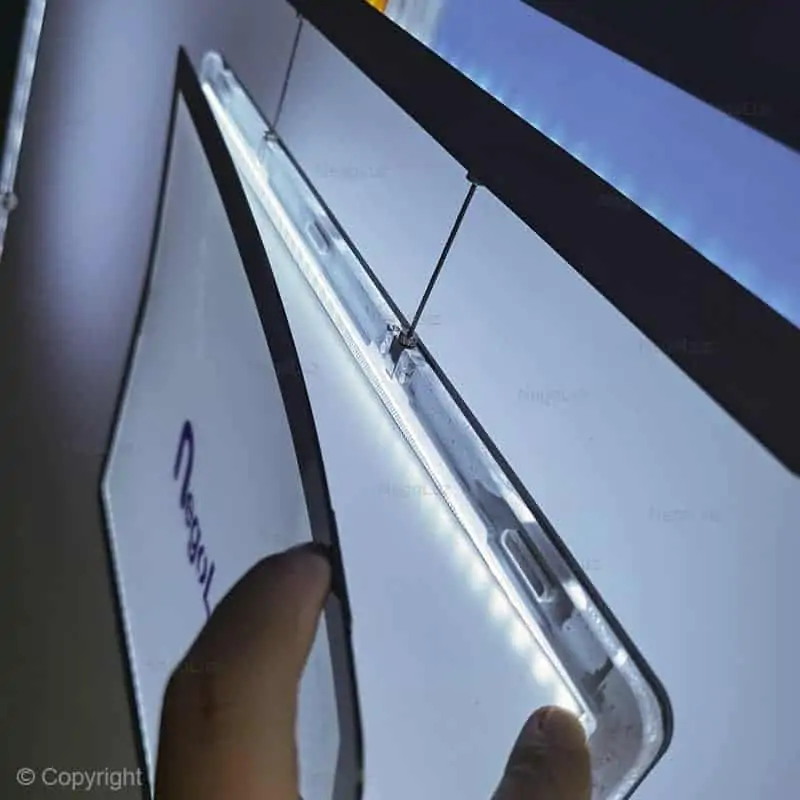
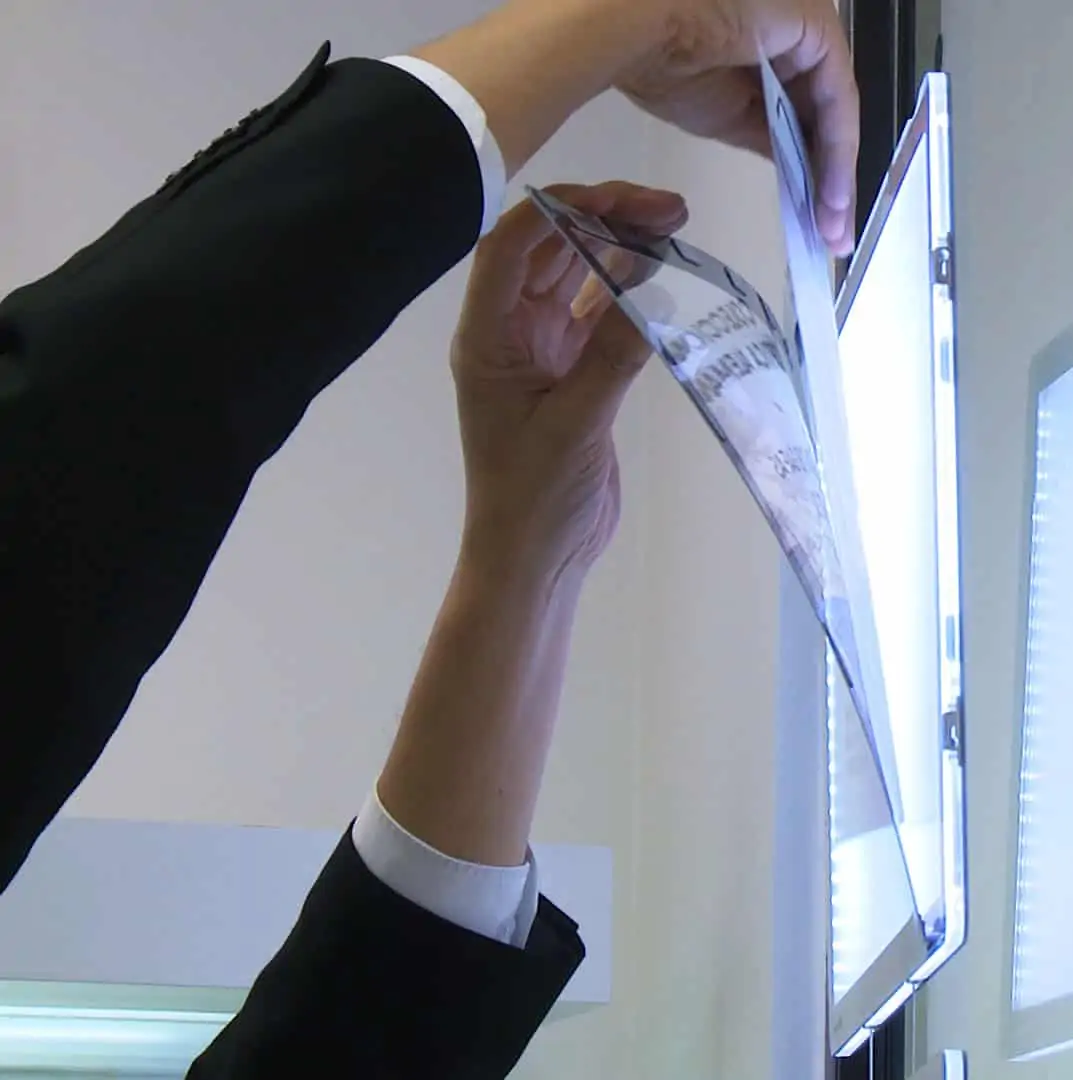
Warning: only the top of each display, which is magnetic, can be opened to insert and update the posters or printing. The other part is glued. Open the front or back slightly to insert the poster as it shows on this picture. Do not use excess force to open the front panel or you will break it.
Care and Cleaning
Backlit LED window displays do not require any special maintenance. Use only a dry microfiber cloth to remove surface dust or a plastic cleaner (alcohol-free) to remove stains or fingerprints. Never use water or alcohol for cleaning.
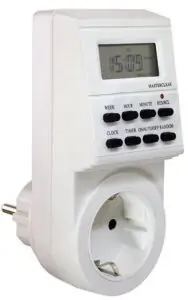
Use a timer to turn your displays on and off automatically 24/7.
Next, print and insert your advertisements into your displays
NegoLuz provides its dedicated backlit paper sheets – available on this website – to print and use in your displays for a great quality picture. You can print the sheets on your laser or inkjet printer. For some printers, it is sometimes better to print one sheet at a time, so they don’t get stuck in your printer. As well, printing one sheet at a time might avoid the printed sheets sticking to each other.
When inserting your printed advertisements into your displays, your display system can be either switched on or off. Only open the front cover of your displays from 1 to 2 inches (2 to 3 cm) to insert the backlit paper sheet.
NegoLuz strongly recommends against the use of any other type of paper than the backlit paper because you will end up with an unprofessional rendering with low brightness, as well as the appearance of paper fibers or stains on your prints. Printing on a regular paper sheet will make your images 40% less bright than printing on our dedicated backlit paper. By opening the front cover more, your sheet won’t slide easily into the display.
- For double-sided displays, you have the option to insert a printed sheet in the back side as well. If you’ve noticed a “ghosting” or “honeycomb cell” effect when there are images on both sides of the display, you can minimize it by inserting a blank backlit sheet between the printed sheet and the display.
- If you don’t need to use the back side of a double-sided display, only keep the default block-out sheet in the back to block the light in the back side.
